How To Find And Remove Duplicate Photos Automatically?

All redundant, excessive objects, especially when there are lots of them, make us usually feel angry and often irritated. They prevent our life from being well-organized and easily-managed, to say nothing about photo collections were heaps of very similar images, having better or worse quality, occupy a significant part of your photo collection. Let's work out the easiest and the quickest way to organize your photo collection and make it just unbeatable without any efforts of yours.

First of all, install one of modern duplicate image searching tools. But mind that not all duplicate image finders will do, as not all of them possess the qualities needed. Only innovative apps, like Image Comparer, which is based on the progressive content-based approach with the option of highlighting image differences, are capable of managing your collection cleverly. Let's step by step consider how to do this with the help of Image Comparer.
Step 1
Start the program. You'll see the Comparison Wizard, your loyal guide on this way. It looks like this:
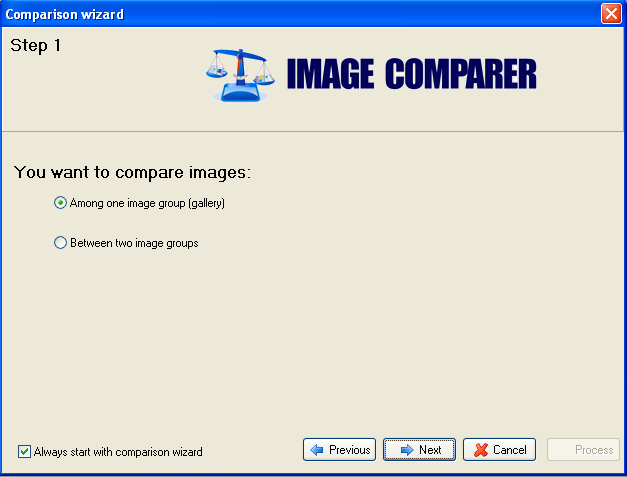
At this stage, you're supposed to choose whether you're going to compare images within one image group, which is called "Gallery" in the program or between two image groups or two galleries. Let's say we compare within one image group, so, select this option and go to the next step.
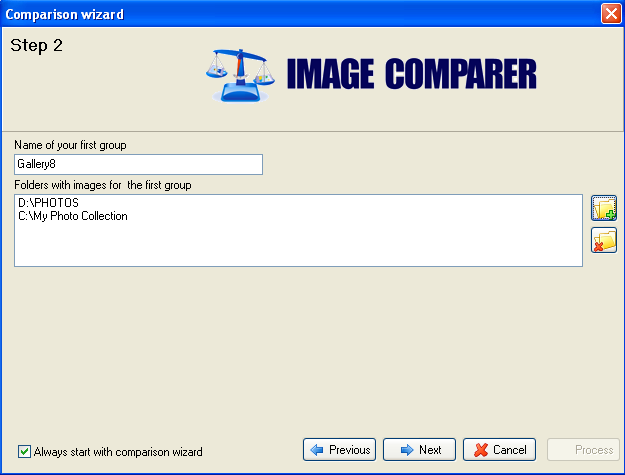
Step 2
You are now to provide a name for your gallery and show the location of the folders with images. Mind that you may unite different folders from different logical drives into one gallery, which is convenient. For example:
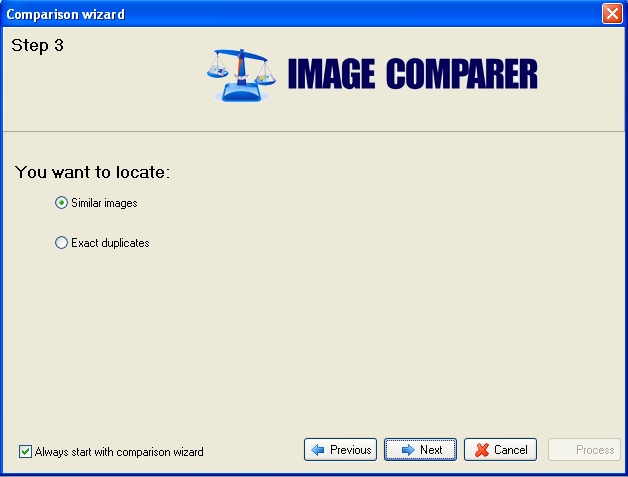
Step 3
Now tell the program what you're looking for - exact duplicates or just similar images. This criterion will influence the results. You see the program analyzes digital photos using content-based image search. This means it takes into account only visual content, not external file properties, like name, tags, etc. Such approach allows searching for non-standard images, I mean, resized, rotated or flipped images as well.
By default, the program has got the similarity level of 85%. So, if you, by some reason, need to change it, find the menu Tools - Preferences - Comparison tab. Here on the right, you can see the section called "Similarity Threshold" (in other words, the level of similarity in percentage) with a scroller, by moving which to the right and to the left you can change this indicator.
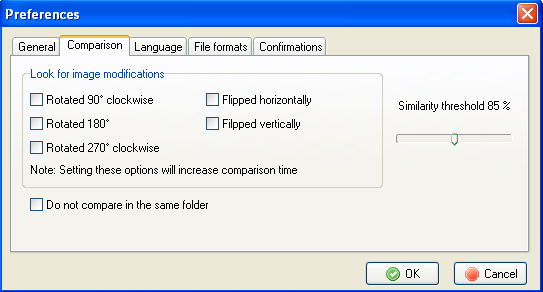
The higher percentage, the more similar images the program will be searching. Logically, if you wish to find exact duplicates, the similarity threshold should be 100%. As simple as that. Okay, going on.
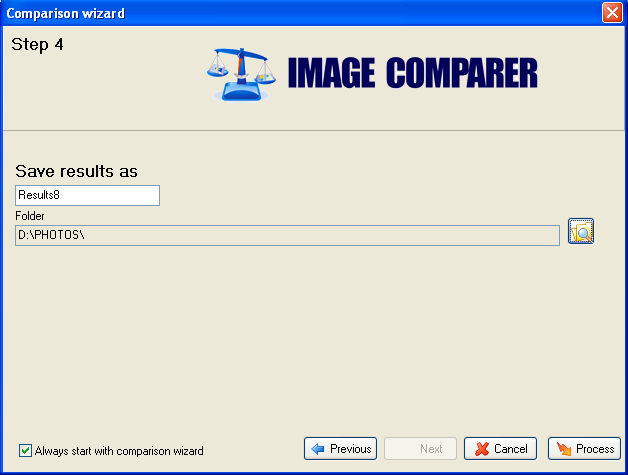
Step 4
Now you should specify the location where to save the results, so that next time you could only add new images and not start it from the very beginning.
When you do this, press "Process" button and launch comparison process. The program now looks like this:

The comparison process is fast: even if your photo collection has got thousands of images, the results will be ready in next to no time.
Step 5
Working with the results. In the results window, you'll find two tabs. The first one presents the whole gallery either in the form of miniatures or a table. The second tab presents similar photos in pairs and checkboxes near them to tick the images you don't need anymore. So, what is left is to go through the pairs of similar images, choose the one with better quality, tick it and perform any actions stipulated by the program. So, you can copy these images, move them to another folder or delete. That's all! As simple as that!

So, stop wasting your time and get rid of all redundancies in your photo collection using Image Comparer!